Rice Cooker Wiring diagram:
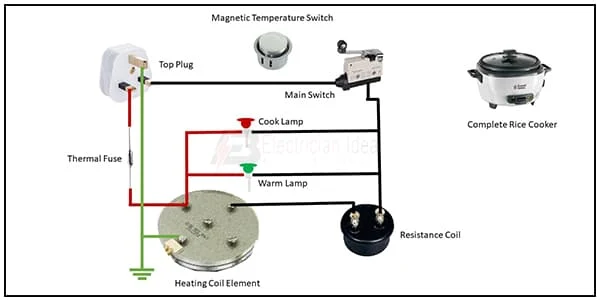
This diagram shows how to make Rice Cooker Wiring Diagram. Electric Rice Cooker Wiring Diagram. In this circuit, we use rice cooker elements and a 3-pin top plug. Here we need to connect all components like our diagram. Now this circuit is ready for use. This diagram is very simple and easy to make. If you want to know more about this circuit please check our youtube video below the post.
Diagram of rice cooker wiring:
Components Need for this Project:
You can get the components from any of the sites below:
- Heating Coil Element [See Buy Click Amazon]
- Resistance Coil [See Buy Click Amazon]
- 3 pin Plug [See Buy Click Amazon]
- Magnetic Temperature Switch [See Buy Click Amazon]
Read Also:
Components used to make the single phase rice cooker:
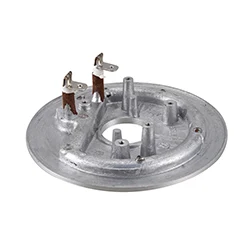
01. Heating Coil Element
 |
| Fig 2: Heating Coil Element |
Rice Cooker Heating Coil Element 800w, 1000w & 1200w. ac line 220v coil element. The heater generates an electric current flowing into the heater coil. which transfers the electric energy into a heating coil. A coil of wire heated by the passage of an electric current flow & used for producing and maintaining a high temperature in various scientific operations or for industrial purposes.
02. Resistance Coil
 |
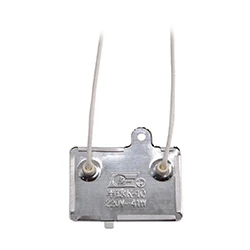
| Fig 3: Resistance Coil |
Rice Cooker Heating Coil Element internal heating resistor at the bottom of the cooker. The resistor boils the water and the steam cooks the rice. On the exterior of the vessel, there is a "cooking" and "keep warm" lamp, along with a cook switching for a rice cooker. In an electric cooker, the electrical energy is converted into heat energy.
03. 3 pin Plug
 |
| Fig 4: 3-pin Plug |
Many of us mistake a device that receives power through a 3-pin plug as a 3-phase load. Actually, they are single-phase loads and a 3-pin plug is used in these devices to avoid electrical accidents. This type of plug has three pins called 'Live', 'Neutral', and 'Earthing' which are marked by letters 'L', 'N', and 'E' respectively. The three wires to which these three pins are connected are also colored differently. The earth pin is connected to yellow or green, live pin to red or brown and neutral pin to black or blue wire. Among these pins, the earth pin is the longest and thickest.
04. Magnetic Temperature Switch
 |
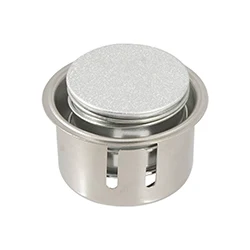
| Fig 5: Magnetic Temperature Switch |
Thank You for visiting the website. Keep visiting for more Updates.


Post a Comment
Do leave your comments